What is the lowest possible clock frequency at which a microcontroller can still do useful work? Here’s a little project that attempts to explore this weird question.

Background
A couple of years ago, while I was studying the then-Atmel ATtiny85 microcontroller, I was fascinated by the fact that I could make it run at a mere 0.5Hz, using an Arduino board with a standard Blink sketch as an external clock source. When I reported this on a local forum, someone wondered what could possibly be done at these speeds. I gave it some thought and answered that if you put a light sensor on your roof to make a clock signal from the day/night cycle, you could probably create a system that will light up an LED every Saturday.
Now, that doesn’t sound particularly useful, but it should be remembered that for religious Jews, Shabbat (Saturday) is sacred and important in many ways. Moreover, according to the Hebrew calendar, a new day begins more or less at sunset, not at midnight. So silly as it is, if this system is done right, it will be actually meaningful – if not practical – to some people.
Anyway, one day I got it into my head – as happens sometimes to makers – that I should actually build this.
Firmware
The code for the microcontroller, then, must run at a clock frequency of 0.000011574Hz (i.e. one clock cycle per 24 hours), and it should make an LED light up on every 7th cycle, for the duration of one cycle. This means that the process of turning off the LED must take exactly one clock cycle. This can be done on AVR MCUs, but not on 8-bit PIC microcontrollers, for instance, because each instruction there takes at least four clock cycles.
Even on AVRs, such as the ATtiny85, this task is not trivial. The main loop has to be exactly seven clock cycles long (which may be even less than seven assembly instructions, depending on which instructions are used), so there’s no point writing regular C/C++ code and hoping it will fit. Since I’m not an Assembly wizard, I wrote some C test programs in Atmel Studio, studied the Assembly instructions that the compiler generated for them, and iterated on the results with the help of the “Instruction Set” section of the datasheet. This is what I came up with eventually:
int main(void) {

    // Prepare value to load into PINB
    asm volatile("LDI R16, 1");
    // DDRB0 to Output
    asm volatile("OUT 0x17, R16");

    while (1) {

        // It's Saturday:
        // Set bit 0 of PINB to toggle PB0
        asm volatile("OUT 0x16, R16");
        // Sunday has come
        asm volatile("OUT 0x16, R16");

        // Loop JMP will take 2 cycles,
        // so we need 3 more...
        asm volatile ("NOP");
        asm volatile ("NOP");
        asm volatile ("NOP");

    }

}
It should be noted that the entire program takes more than 7 cycles. There’s the register initialization I wrote before the “while” loop, and another ten or so assembly instructions added by the compiler. When the microcontroller is powered up, we’ll have to inject about 40 clock cycles just to get to the main loop. The loop itself, however, has exactly the right number of cycles.
Generating the clock signal
A major requirement of this project is that the clock signal will be generated directly from the day/night cycle. No processing should be done anywhere at a higher speed.
At first I thought to have a light dependent resistor (LDR) as part of a voltage divider, and connect the output of that into the external clock input on the ATtiny85. This solution, however, may be hard to protect against interference (full moon, clouds, a bird passing by and dropping its… shadow on the LDR etc.). I needed something that will go LOW only when there’s strong light, and HIGH only when it’s really dark.
After some failed experiments, I decided to follow a tip I got from an expert: to create a light sensor with wide hysteresis range, based on a Comparator. I found this great reference design document from TI, and bought some push-pull output comparators (TLV3702, though there are many other suitable ones).

To understand how this setup works, I suggest you watch the following video. It should be noted that the regular GPIO input hysteresis range of the ATtiny85 is not wide enough for my needs, so the above circuit really is necessary.
The final result
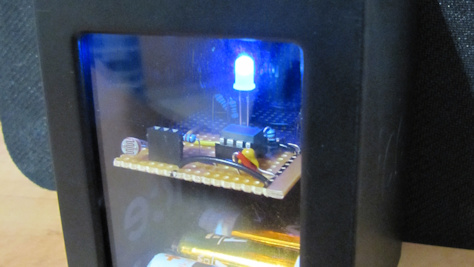
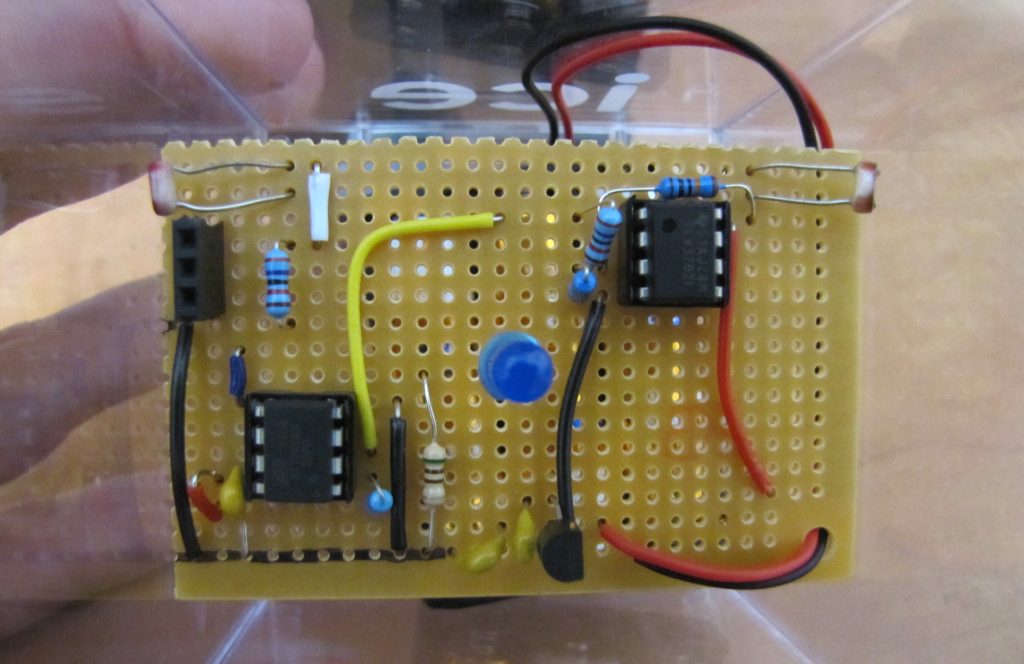
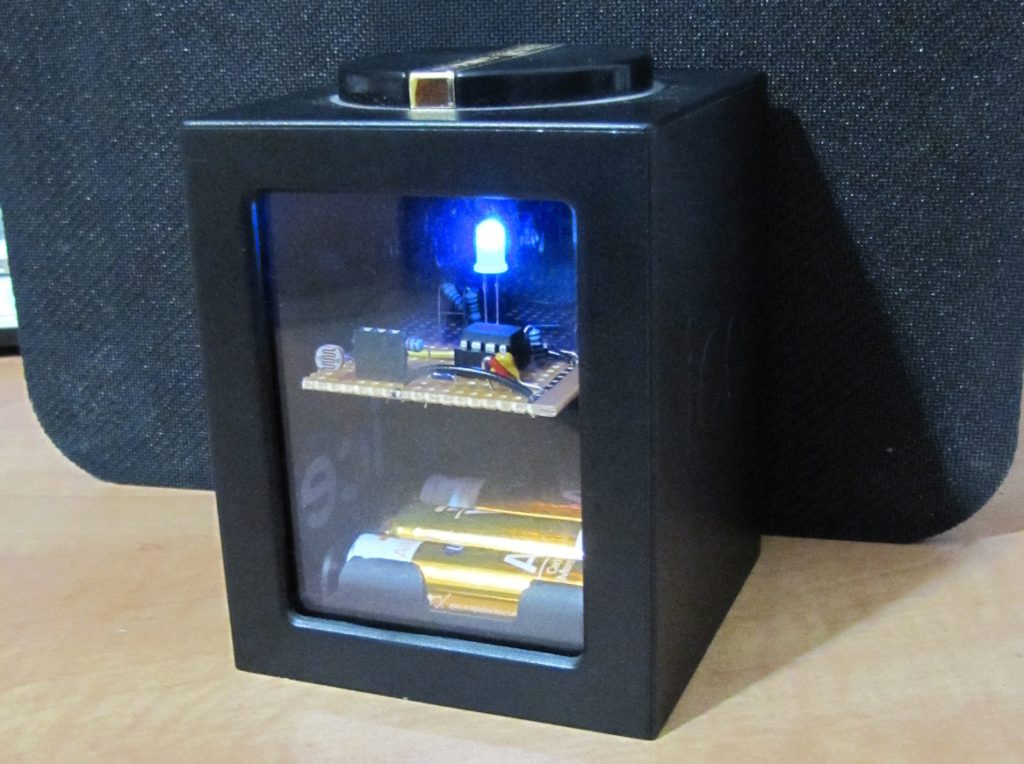
Before firing up the soldering iron, I ran some tests on a breadboard, to verify that the ATtiny85 can run with an extremely slow clock, and that I have the right LDRs and resistor values. Then I soldered it all together, added a 3xAA battery holder and a 3.3V voltage regulator, and put it all inside a nice box with transparent walls (this box once contained a fancy wristwatch). The PCB is exactly the right size to be held by the slight pressure from the box walls – no need for glue or screws!

Debugging this system takes weeks, literally; but experiments with artificial light show that it works as expected. All that’s left now is to put it somewhere outside where the elements won’t hurt it too much, and enjoy the glory of the 0.000011574Hz Shabbat detector. Hopefully, no lightning will strike close enough for its light to trigger the comparator during the night…
A note about power: microcontroller processors generally use more power the faster their clock is, and vice versa. However, there are other currents inside the MCU, so even at this super-slow speed the ATtiny85 takes more current than in a sleep mode. I added some instructions to the program, to turn off unnecessary modules, and got as low as ~70uA (not including the other components in the system). Now, MCU current consumption is sometimes measured in uA/MHz, so doing the math blindly we get something along the lines of 6.048 Million Amps per MHz. Very inefficient! Also, to run a single Arduino Blink cycle (2 seconds at 16MHz), my system will need about 87,600 years.
Can you think of even slower practical systems, based on a natural clock source?

And I thought Windows ME was slow to boot 🙁 At least it doesn’t take FORTY days (and nights. Hey, waitaminute… Ain’t I heard that number somewhere else? Hmmmm *stroking chin and trying to remember*)
*About* forty, I never actually counted the exact number, so I wouldn’t stick to that estimation too religiously 🙂
1000 years from now, a complex-for-our-time AI is set in motion. It collects information about the world, stores it, and makes a new AI with the same functionality. And so on. 1 clock cycle happens every 1000 years, and the AI starts it’s job every cycle.
Where’s the schematic?
Where did I promise one? 😉
You didn’t, but anyone can claim to have done something without providing any evidence for others evaluate. Schematics or it didn’t happen.
Ok, it didn’t happen, whatever 😀
Dude, it’s a comparator with hysteresis and what looks like a low side FET switch for the LED.
If you are asking for a schematic for this, chances are you wouldn’t understand it.
If you are trying to learn, spend your time learning, not making snarky comments.
I’m sure if you asked nicely, or showed that you put in an effort other than just typing your 3 word “question,” he would probably post it for you, or at least give you the thresholds he used.
ok, but no point going into a comment fight about this 🙂